Electron笔记 3 node-serialport 包的安
node-serialport 是 nodejs 提供,可以在 Electron 中使用,用于串口通信的包,详见参考资料【1】。
Windows 用户在安装前首先需要安装 node-gyp,安装过程详见参考资料【2】。node-gyp 安装时依赖 VC++ 环境和 python2.7。我采用了全局安装,即
$ npm install -g node-gyp
安装之前直接装了 VS2015 和 python2.7。安装 node-gyp 的同时会安装 node-pre-gyp,如下图所示。
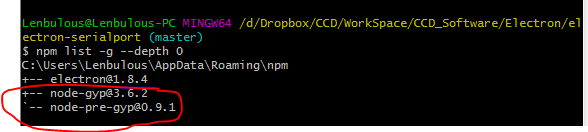 node-gyp
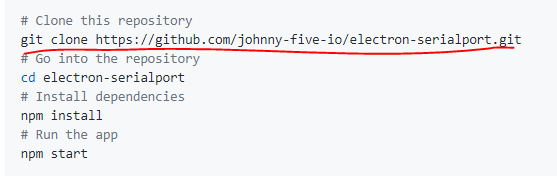
在参考资料【1】中,提供了可以在Electron环境下运行的例子,详见参考资料【3】,具体操作如下图所示:
 serialport-example
通过:
git clone https://github.com/johnny-five-io/electron-serialport.git
指令,将远程仓库的例子克隆到本地。
因为之前已全局安装过 Electron,故在 npm install 时不需要再次安装,利用 VS Code 打开 package.json 文件,删除相应依赖,如下图所示。
 删除依赖
删除依赖
完成后,运行 npm install
运行 npm start,发现执行错误,如下图所示
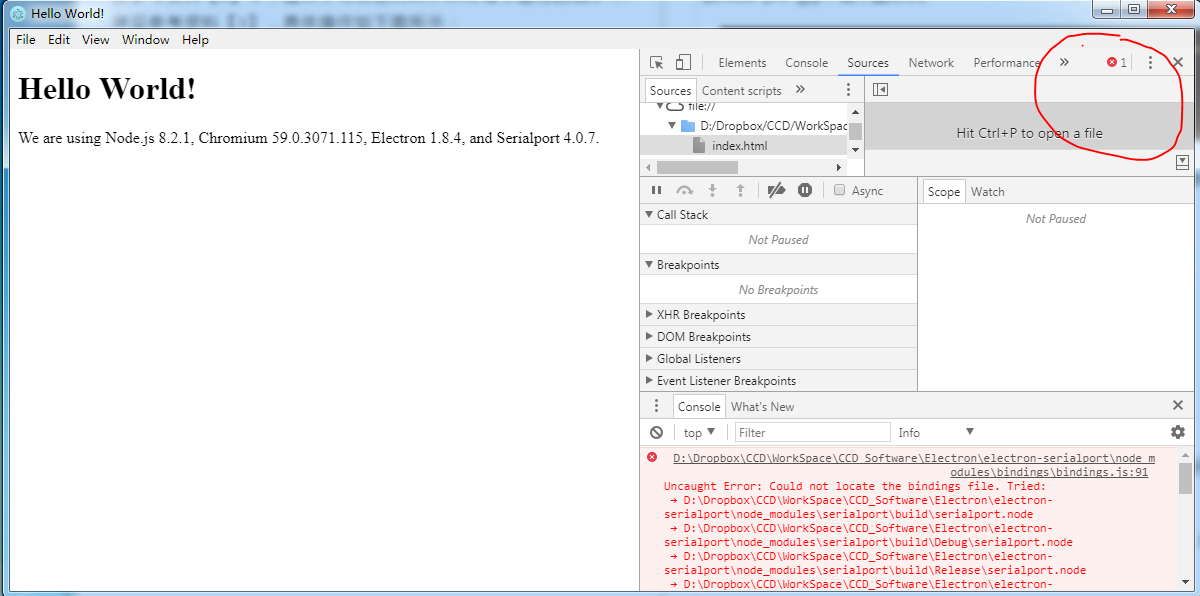 错误
错误
之后,进入 electron-serialport\node_modules\serialport 路径,运行命令:
node-pre-gyp rebuild --target=1.8.4 --arch=x64 --dist-url=https://atom.io/download/electron
其中,--target 为 Electron 版本, --arch 为处理器版本,可为 ia32 与 x64。
执行完毕后回到 electron-serialport 目录,运行 npm start 命令,运行成功,表示例子已成功运行。
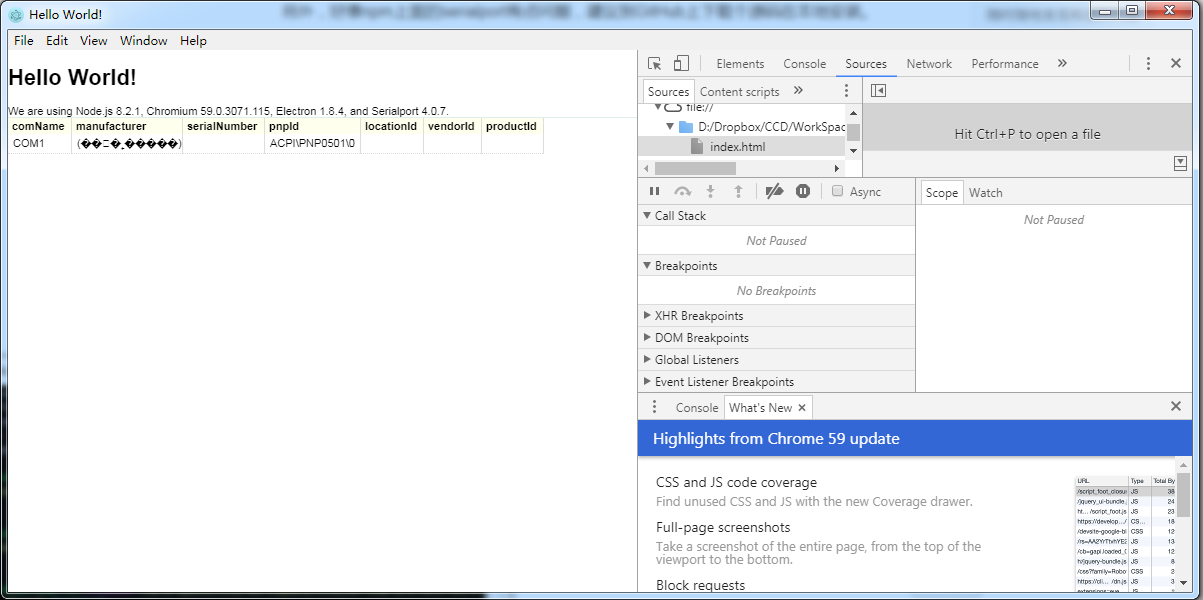 正确
正确
参考资料:
【1】https://github.com/node-serialport/node-serialport
【2】https://github.com/nodejs/node-gyp#installation
【3】https://github.com/johnny-five-io/electron-serialport
【4】https://www.jianshu.com/p/696fbdeb5b8a
【5】https://blog.csdn.net/love100628/article/details/75336802


