使用hexo发布博客
2014-09-12 本文已影响471人
据一位不轻易吐槽的喔喔吐槽
title: hello world
终于下决心把博客由wordpress搬到github pages上了。。其实主要是懒得折腾。。这里把折腾hexo的过程记录一下,做个备用。
-
前提
- 安装Git;
- 安装Nodejs;
-
安装
- 打开Git Bash,用npm安装hexo,步骤可以参考hexo官方教程:
npm install hexo -g -verbose
加verbose参数是为了查看详细信息,以免中途挂掉;
这里用的是Git Bash,不是cmd;
- 在本地创建目录:
hexo init content
content为文件夹名,可以随意
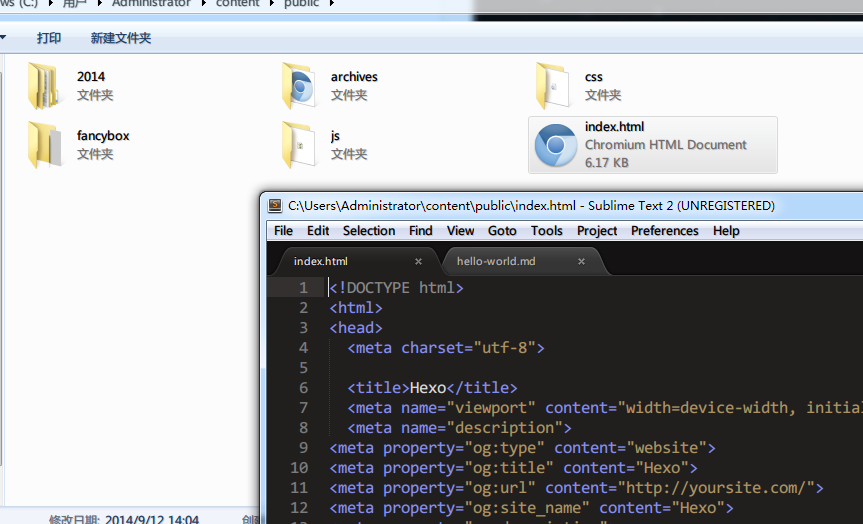
会在根目录创建一个content文件夹,这个文件夹就是hexo的工作目录:
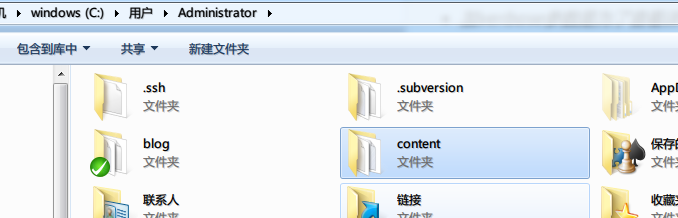 工作目录
工作目录
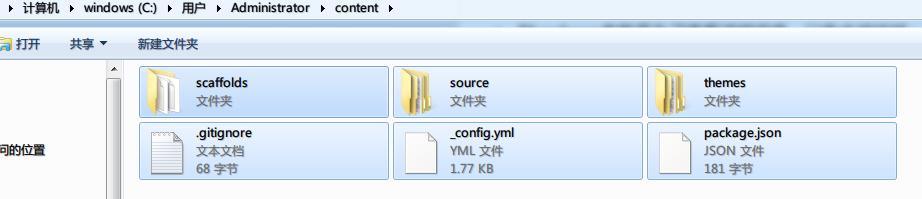 文件夹结构
文件夹结构
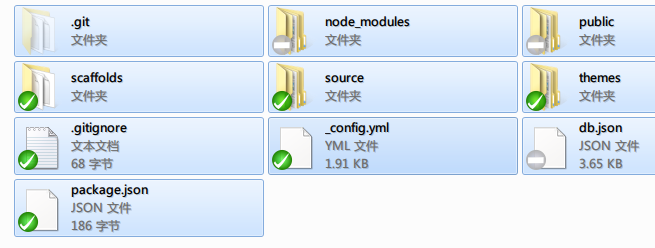
- 安装node缺失的依赖包
cd content
npm install -verbose
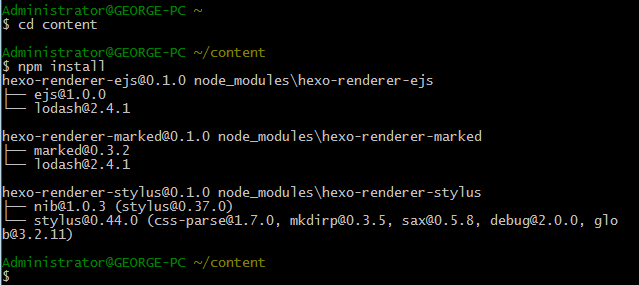 安装依赖包
安装依赖包
- 生成html静态页面,查看效果:
hexo generate
hexo server
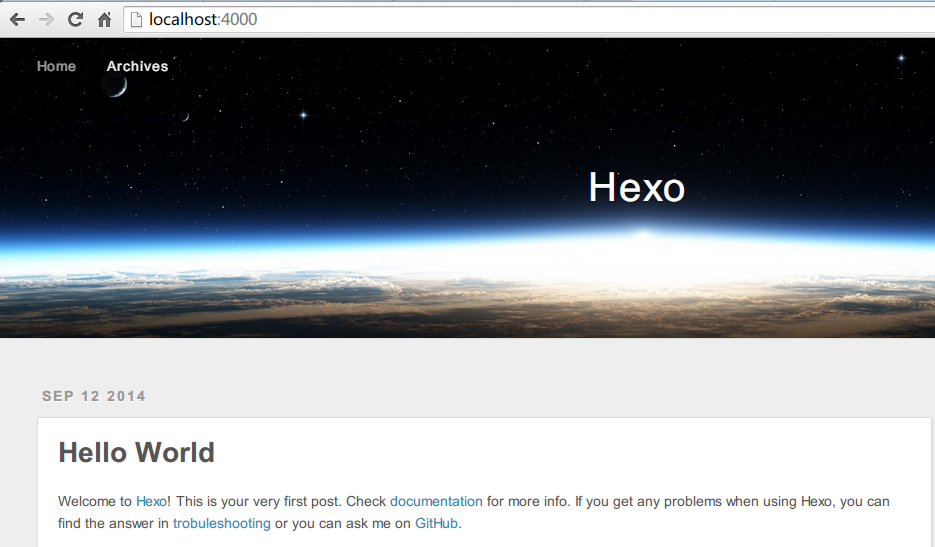 本地执行效果
 文件夹结构
文件夹结构
 生成的静态页面
-
发布
- 打开_config.yml,修改deploy节点:
deploy:
  type: github
  repo: https://github.com/imwower/imwower.github.io.git
type和repo的冒号之后有一个空格
- 发布到github:
hexo deploy
这里的发布使用的是https,需要手动输入github用户名和密码。ssh可能不太一样
-
创建另一个git repo,把当前文件夹内容提交,这样以后直接clone这个repo,就不需要再对hexo进行配置,同时可以随时修改博客内容了:
 另一个repo


